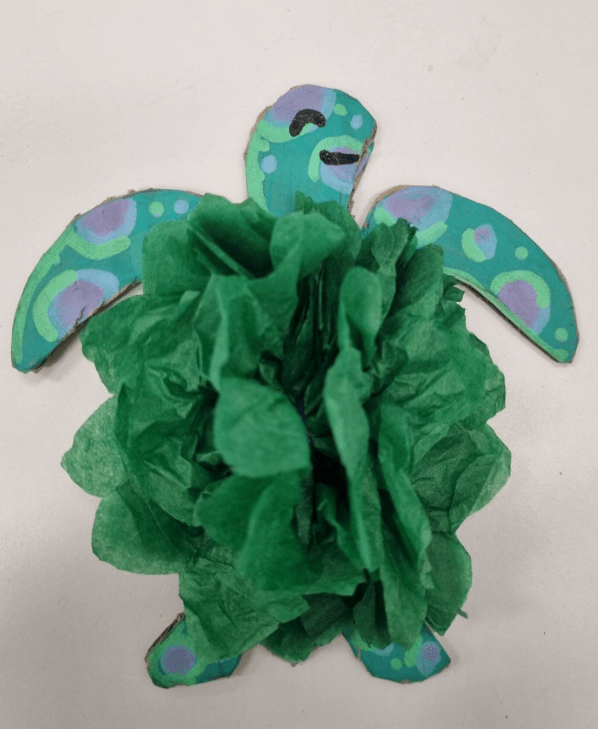
This colourful, hands-on project is a hit in Art Club and classroom settings alike! Students design and paint their own turtle before adding a 3D textured pom pom shell using tissue paper. It’s an excellent way to explore mixed media, texture, and colour harmony — and best of all, it’s beginner-friendly.

🎨 You’ll Need:
- Turtle template (photocopy or draw your own)
- Cardboard (cereal box or similar)
- Paint, paint pens, or markers
- Tissue paper in various colours
- Scissors
- Glue stick or tacky glue
- String/yarn (optional if you want to hang them)
✂️ Task 1: Design Your Turtle
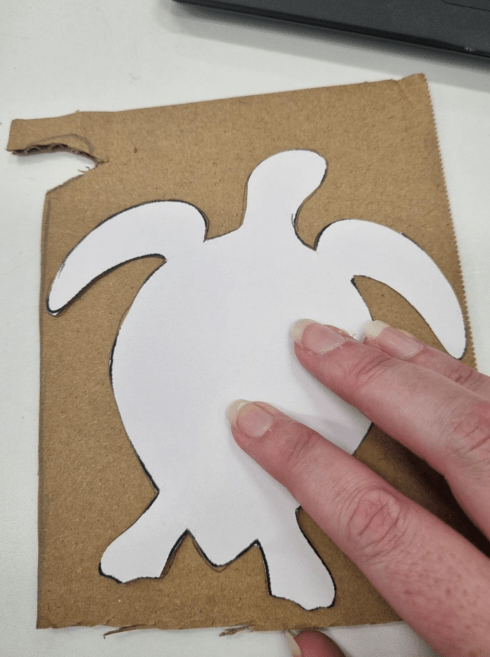
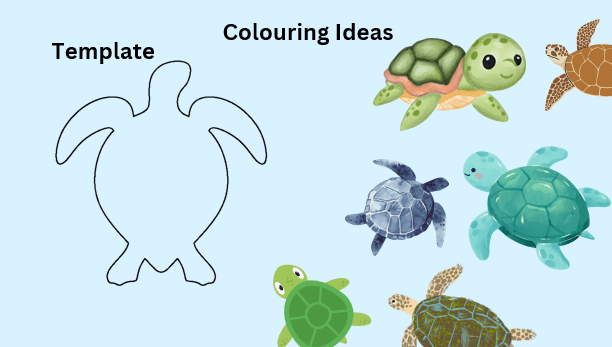
Step 1: Cut out your turtle template.
Image from: https://patternuniverse.com/download/sea-turtle-pattern/
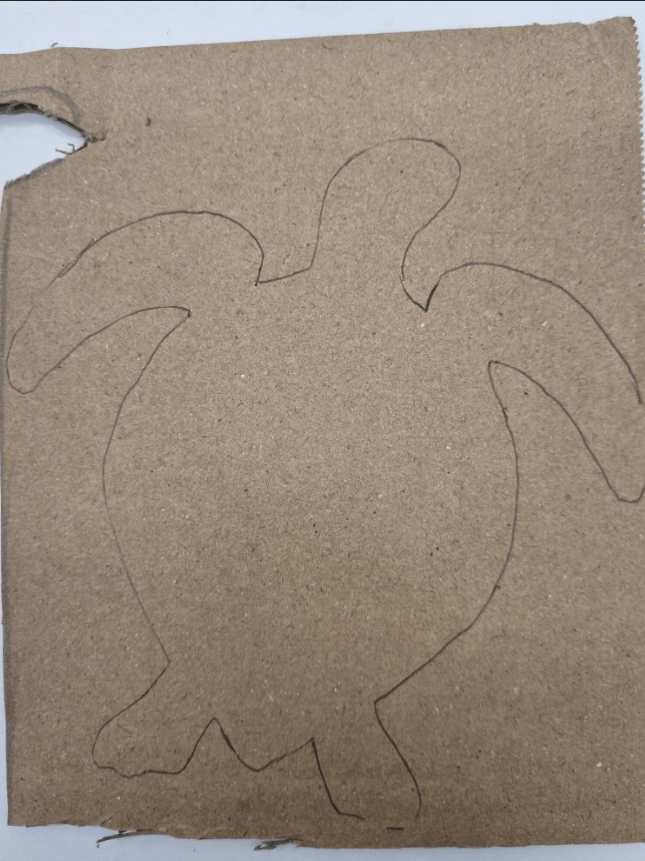
Step 2: Trace the template onto a piece of cardboard.
Step 3: Cut out your cardboard turtle shape.
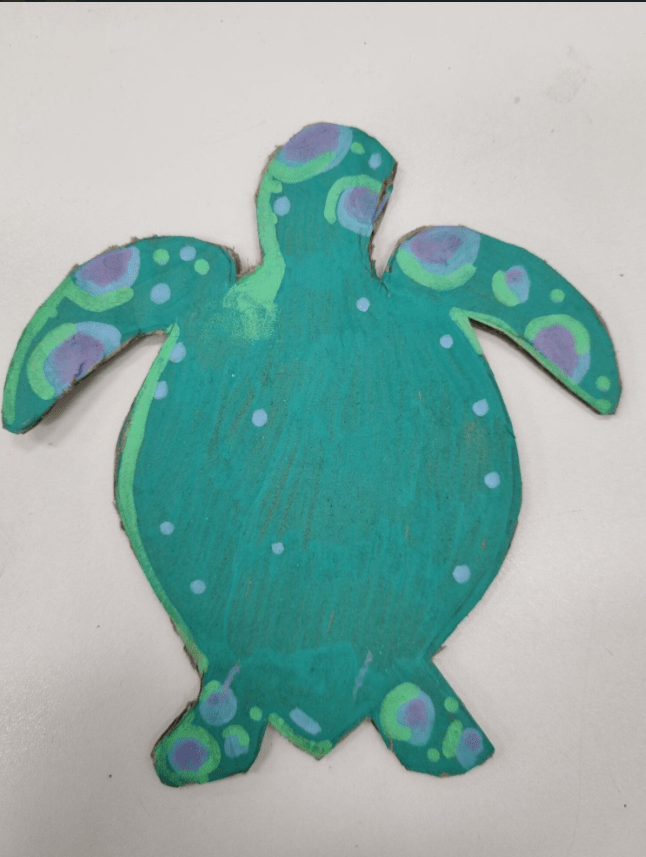
Step 4: Paint and decorate the turtle however you like!
Think about colour harmony and playful patterns. You can use the colouring ideas provided in the PowerPoint as inspiration.
🧵 Task 2: Create a Pom Pom Shell
Step 1: Choose a tissue paper colour that suits your turtle design.
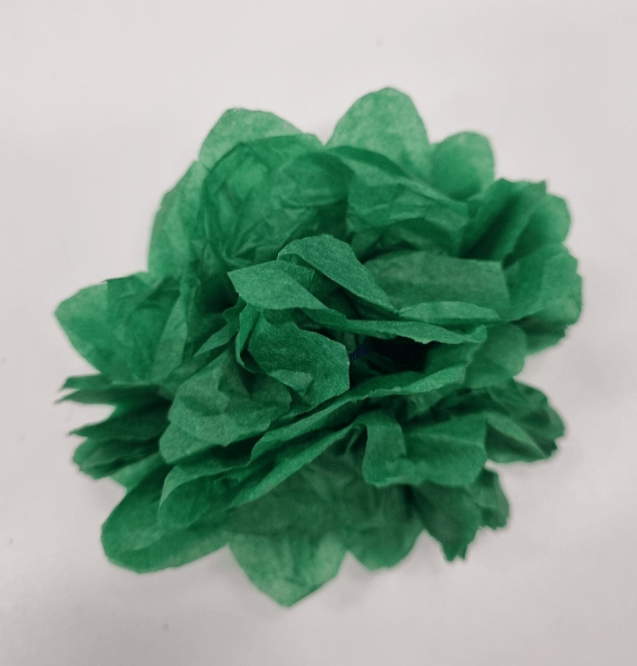
Step 2: Create a half pom pom using the tissue paper — scrunch, fluff, and layer it to give a dome shape.
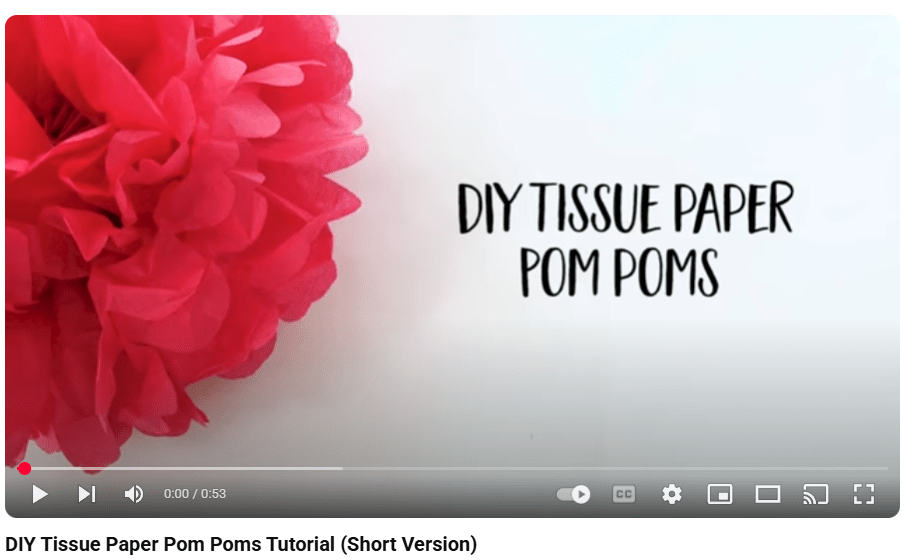
We followed this tutorial by American Greetings: https://www.youtube.com/watch?v=FZg8MvYNZaM
Step 3: Glue the pom pom directly onto the shell area of your painted turtle.
Optional: Add a loop of string or yarn to the top if you’d like your turtle to hang on display!
🌈 Teacher Tips
- Encourage students to name their turtles and write a short story or fact about them.
- Try hanging the finished pieces on a wall or mobile for a bright, underwater display!
- Mix colours in the pom pom shell for rainbow or camo effects.
